Introduction
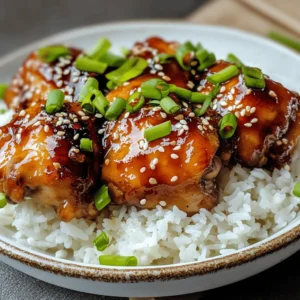
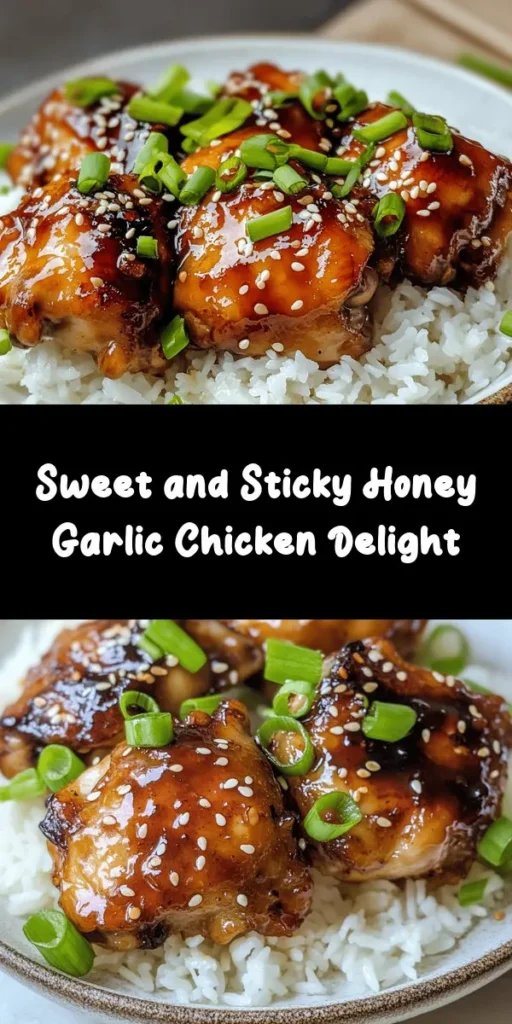
Home cooking is an art that brings people together, encouraging culinary creativity and providing a sense of accomplishment with every meal. Whether you’re a novice cook or an experienced chef, there’s something incredibly rewarding about preparing a dish from scratch. One recipe that exemplifies this joy is the Sweet & Sticky Honey Garlic Chicken. This mouthwatering dish is a harmonious blend of sweet and savory flavors, making it an irresistible choice for anyone looking to impress at the dinner table.
What sets Honey Garlic Chicken apart is its versatility. This dish is perfect for weeknight dinners when you want something quick yet delicious, as well as special occasions where you want to showcase your culinary skills. The combination of honey, garlic, and soy sauce creates a sticky glaze that clings to tender chicken pieces, resulting in a dish that is not only flavorful but also visually appealing. Whether served over a bed of fluffy rice or alongside a crisp salad, this recipe promises to satisfy and delight.
Understanding the Ingredients
To create the perfect Sweet & Sticky Honey Garlic Chicken, it’s essential to understand the key ingredients that contribute to its unique flavor profile. Each component plays a vital role in building the dish’s overall taste and aroma.
Honey
Honey is the star of this recipe, providing the sweetness that balances the savory elements. It acts as a natural sweetener and thickener, creating that signature sticky glaze that clings to the chicken. In addition to its delicious flavor, honey is also packed with antioxidants and can offer various health benefits, making it a great alternative to refined sugars.
Soy Sauce
Soy sauce is another crucial ingredient that enhances the dish’s umami flavor. This fermented product adds depth and complexity to the sauce, balancing the sweetness of the honey with its salty, savory notes. When choosing soy sauce, opting for low-sodium varieties can help control the saltiness of the dish while still delivering that authentic flavor.
Garlic
Garlic is renowned for its aromatic qualities and health benefits. In this recipe, minced garlic infuses the chicken with robust flavor and adds a savory backdrop to the sweet glaze. Not only does garlic enhance the taste, but it also contributes to the dish’s health profile with its potential anti-inflammatory and immune-boosting properties.
Ginger
Fresh ginger adds a zesty kick to the sauce, complementing the sweetness of the honey and the saltiness of the soy sauce. Its warm, spicy flavor enhances the overall complexity of the dish, making it more dynamic and interesting. Ginger also boasts numerous health benefits, including aiding digestion and reducing inflammation.
Rice Vinegar
Rice vinegar is a staple in Asian cooking and plays an important role in this recipe by adding acidity. This tangy element balances the sweetness of the honey and the saltiness of the soy sauce, creating a well-rounded flavor profile. Additionally, rice vinegar has been associated with various health benefits, including improved digestion and blood sugar regulation.
Sesame Oil
Sesame oil adds a rich, nutty flavor that complements the other ingredients beautifully. It is often used in Asian cuisine and can enhance the dish’s aroma significantly. Beyond flavor, sesame oil is also known for its heart-healthy fats and antioxidant properties, making it a nutritious addition to your cooking.
Cornstarch (Optional)
While cornstarch is an optional ingredient, it can be a game-changer when it comes to achieving the perfect sauce consistency. If you prefer a thicker glaze, mixing cornstarch with water to create a slurry can help thicken the sauce as it simmers. This step is particularly useful if you are preparing the dish in advance and want to ensure the sauce remains luscious and clingy when served.
Preparation Steps
Now that you understand the importance of each ingredient, it’s time to break down the preparation process to ensure clarity and ease in your cooking journey.
Marinating the Chicken
One of the most crucial steps in preparing Sweet & Sticky Honey Garlic Chicken is marinating the chicken. This step is essential for infusing flavor into the meat and ensuring that every bite is succulent and delicious.
Recommended Marination Time: Aim to marinate the chicken for at least 30 minutes, but if time allows, letting it sit for 2 hours or even overnight in the refrigerator will yield maximum flavor. The longer the chicken marinates, the more pronounced the flavors will be.
Tips for Maximizing Flavor:
– Use a resealable plastic bag or a glass container to hold the chicken and marinade. This method ensures that the marinade coats the chicken evenly.
– Massage the marinade into the chicken pieces to help the flavors penetrate.
– For added depth, consider adding a splash of lime juice or a sprinkle of chili flakes for a bit of heat.
Cooking Instructions
Once your chicken has marinated and absorbed the wonderful flavors, it’s time to start the cooking process. Follow these step-by-step instructions to ensure the chicken is perfectly cooked and coated with that sweet and sticky sauce.
Step 1: Searing the Chicken
Begin by heating a tablespoon of oil in a large skillet over medium-high heat. Once the oil is hot, remove the chicken from the marinade, allowing any excess liquid to drip off. Sear the chicken pieces in the skillet in batches, being careful not to overcrowd the pan.
Tips for Achieving the Right Texture:
– Allow the chicken to sear undisturbed for about 4-5 minutes on one side until a golden crust forms. This step is crucial for flavor development.
– Flip the chicken and sear the other side for an additional 4-5 minutes until browned. You want the chicken to be browned on the outside and just cooked through.
Step 2: Managing Heat
After searing, reduce the heat to medium and return all the chicken to the skillet. Pour the marinade over the chicken and bring the mixture to a gentle simmer.
Managing Heat for Optimal Cooking:
– It’s important to keep the heat at a simmer rather than a rolling boil. A gentle simmer allows the chicken to cook evenly without drying out.
– Use a meat thermometer to check for doneness. The internal temperature should reach 165°F (75°C) for safety and optimal texture.
Step 3: Simmering in the Sauce
Allow the chicken to simmer in the sauce for about 10-15 minutes, turning the pieces occasionally to ensure they are evenly coated. As the sauce cooks, it will thicken slightly, becoming that irresistible glaze you crave.
Significance of Internal Temperature:
– Regularly check the chicken’s internal temperature to ensure it’s cooked through but not overdone, which can lead to dryness.
– Once the chicken reaches the proper temperature, it’s ready to be served, glistening in that delicious honey garlic sauce.
With these preparation steps, you are well on your way to creating a delightful Sweet & Sticky Honey Garlic Chicken dish that will surely impress your family and friends. The balance of flavors and textures will make this a staple in your home cooking repertoire. Stay tuned for the next part, where we’ll dive into serving suggestions and tips for perfecting this recipe even further.
Serving Suggestions
To elevate your Sweet & Sticky Honey Garlic Chicken to a full meal, consider pairing it with complementary side dishes that enhance the dish’s flavor profile. Here are some ideas that will round out your dining experience:
Steamed Rice
A bed of fluffy rice is an excellent choice for soaking up the sticky sauce of the honey garlic chicken. Here are some types of rice that work particularly well:
– Jasmine Rice: This fragrant, slightly sticky rice complements the dish’s sweetness and is an ideal base for the honey garlic sauce.
– Basmati Rice: With its nutty flavor and fluffy texture, basmati rice provides a nice contrast to the rich chicken.
– Brown Rice: For a healthier option, brown rice adds a chewy texture and nutty flavor, making it a wholesome choice.
Vegetable Pairings
Adding vegetables not only enhances the nutritional value of your meal but also adds color and texture. Here are some sautéed or steamed vegetables that pair beautifully with your chicken:
– Broccoli: Its slight bitterness contrasts well with the sweetness of the dish.
– Snap Peas: These add a fresh crunch and vibrant color.
– Carrots: Thinly sliced or julienned carrots provide a touch of sweetness that can complement the honey in the chicken.
– Bell Peppers: Their sweetness and crunch can enhance the overall flavor and add a pop of color.
You can either serve these vegetables on the side or sauté them with the chicken during the last few minutes of cooking for a one-pan meal.
Alternative Serving Options
If you’re looking for creative ways to serve the honey garlic chicken, consider these alternatives:
– Wraps: Use whole grain or lettuce wraps. Fill them with your chicken, fresh vegetables, and a drizzle of extra sauce for a delicious handheld meal.
– Salads: Toss the chicken on a bed of mixed greens, add some cherry tomatoes, cucumber, and a light dressing to create a refreshing salad.
– Grain Bowls: Combine the chicken with quinoa or farro, top it with your choice of veggies, and a sprinkle of sesame seeds for a hearty grain bowl.
Presentation Tips
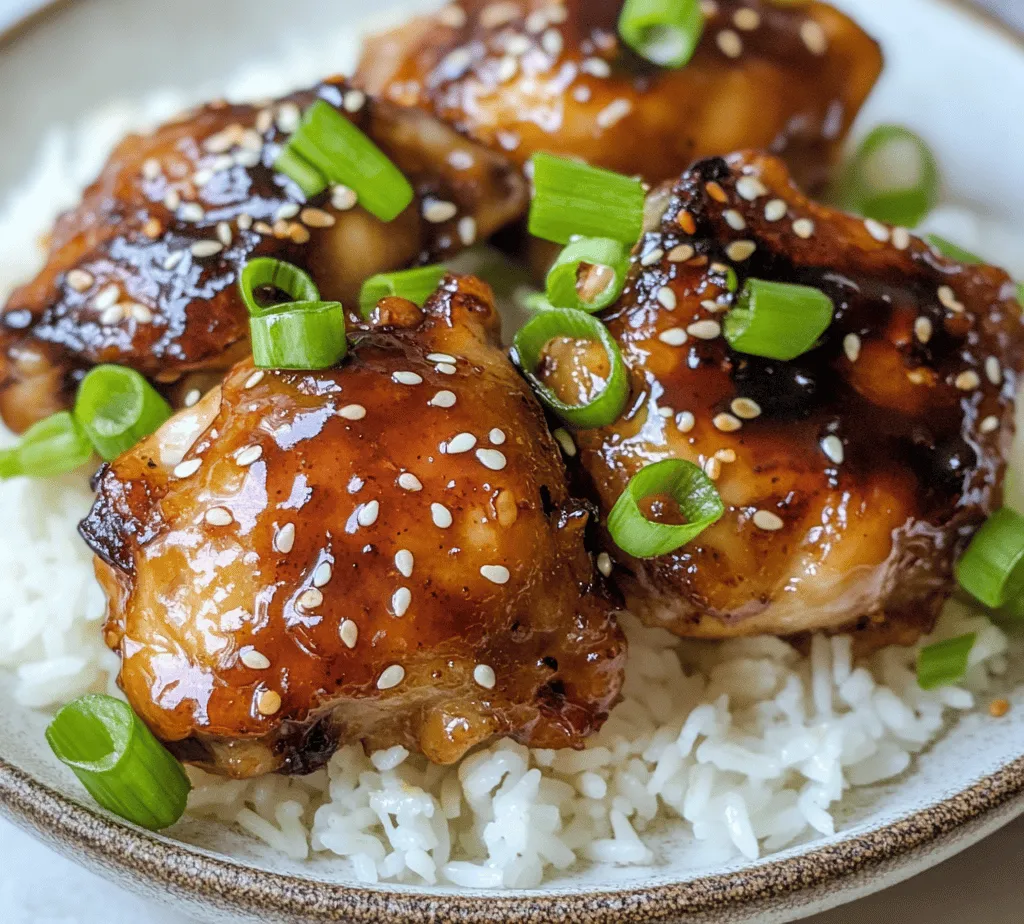
Presentation matters, especially when serving a dish as visually appealing as Sweet & Sticky Honey Garlic Chicken. To make your meal pop, consider these garnishing tips:
– Green Onions: Thinly slice some green onions and sprinkle them over the chicken just before serving to add brightness and a hint of freshness.
– Sesame Seeds: Toasted sesame seeds not only add crunch but also enhance the dish’s aesthetic appeal. A light sprinkle can make your dish look gourmet.
Nutritional Information
Understanding the nutritional benefits of Sweet & Sticky Honey Garlic Chicken can help you make informed decisions about your meal. Here’s a breakdown of the key ingredients:
– Chicken: A fantastic source of lean protein, chicken helps to build and repair tissues while supporting overall health. It is lower in fat compared to other meats, making it a great option for a healthy diet.
– Honey: While it adds sweetness, honey also provides antioxidants and has natural antibacterial properties. Opting for raw honey can further enhance its health benefits.
– Garlic: Known for its numerous health benefits, garlic is great for heart health, contains anti-inflammatory properties, and can help boost the immune system.
Caloric Breakdown
A standard serving of Sweet & Sticky Honey Garlic Chicken contains approximately 300-400 calories, depending on the portion size and specific ingredients used. If you’re looking to adjust the recipe for dietary preferences, consider the following modifications:
– Low-Sodium Soy Sauce: Substitute regular soy sauce with a low-sodium version to reduce sodium intake without sacrificing flavor.
– Sugar Substitutes: For those watching their sugar intake, you can experiment with natural sweeteners like agave syrup or stevia instead of honey.
Culinary Variations
One of the joys of cooking is the ability to adapt recipes to your taste. Here are some suggestions for variations on the classic Sweet & Sticky Honey Garlic Chicken:
– Different Proteins: If you’re looking for a vegetarian or different protein option, consider using tofu, shrimp, or even beef. Each protein will absorb the sauce differently, offering unique flavors and textures.
– Adjusting Sweetness and Spiciness: Depending on your palate, you can modify the amount of honey or add chili flakes to introduce heat. This flexibility allows you to create a dish that perfectly matches your preferences.
– Adding Vegetables: To create a one-pan meal, consider adding vegetables such as bell peppers, zucchini, or snap peas right into the skillet during the last few minutes of cooking. This not only enhances the nutritional content but also reduces cleanup.
Conclusion
The Sweet & Sticky Honey Garlic Chicken is a delightful dish that balances flavors and textures, making it a standout choice for family dinners or gatherings. Its sweet and savory profile appeals to a wide array of palates, while its ease of preparation makes it a go-to recipe for busy weeknights.
Encouraging readers to experiment with the recipe allows them to make it their own, whether by adjusting ingredients or trying out different serving methods. This dish has the potential to become a family favorite, offering versatility that suits various occasions, from casual dinners to more festive gatherings.
As you embark on your culinary journey with Sweet & Sticky Honey Garlic Chicken, enjoy the process of cooking and the joy of sharing delicious meals with loved ones. Embrace the flavors and let this recipe inspire your culinary creativity!