Introduction
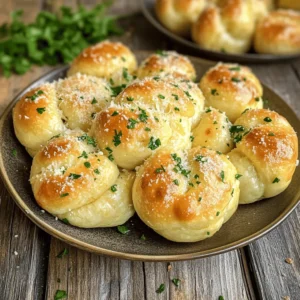
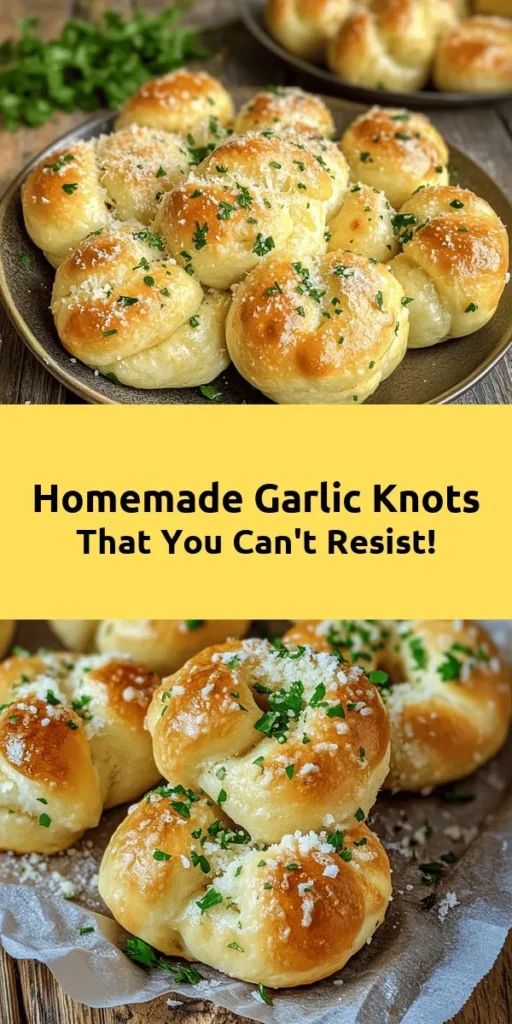
Indulging in the warm, buttery goodness of homemade garlic knots is a delightful experience that brings comfort to any meal. These little bundles of joy are not just a side dish; they are a celebration of flavors, textures, and culinary traditions that elevate any dining experience. Whether served alongside a hearty pasta dish, enjoyed as a snack, or offered at gatherings, garlic knots have an irresistible charm that few can resist.
In this article, we will guide you through creating the perfect garlic knots, emphasizing the flavors, techniques, and steps involved in crafting this delectable treat. From the activation of yeast to the final brush of garlic butter, we’ll explore the entire process to ensure your kitchen is filled with delightful aromas, and your dinner table is set for an unforgettable treat. Prepare to embark on a culinary journey that will leave your family and friends clamoring for more.
The Essence of Garlic Knots
Garlic knots are more than just a tasty addition to your meal; they hold a significant place in culinary traditions, particularly within Italian-American cuisine. Originally crafted from pizza dough scraps in the bustling pizzerias of New York, these knots quickly gained popularity for their simplicity and mouthwatering flavor. The essence of garlic knots lies in their ability to transform everyday ingredients into something extraordinary.
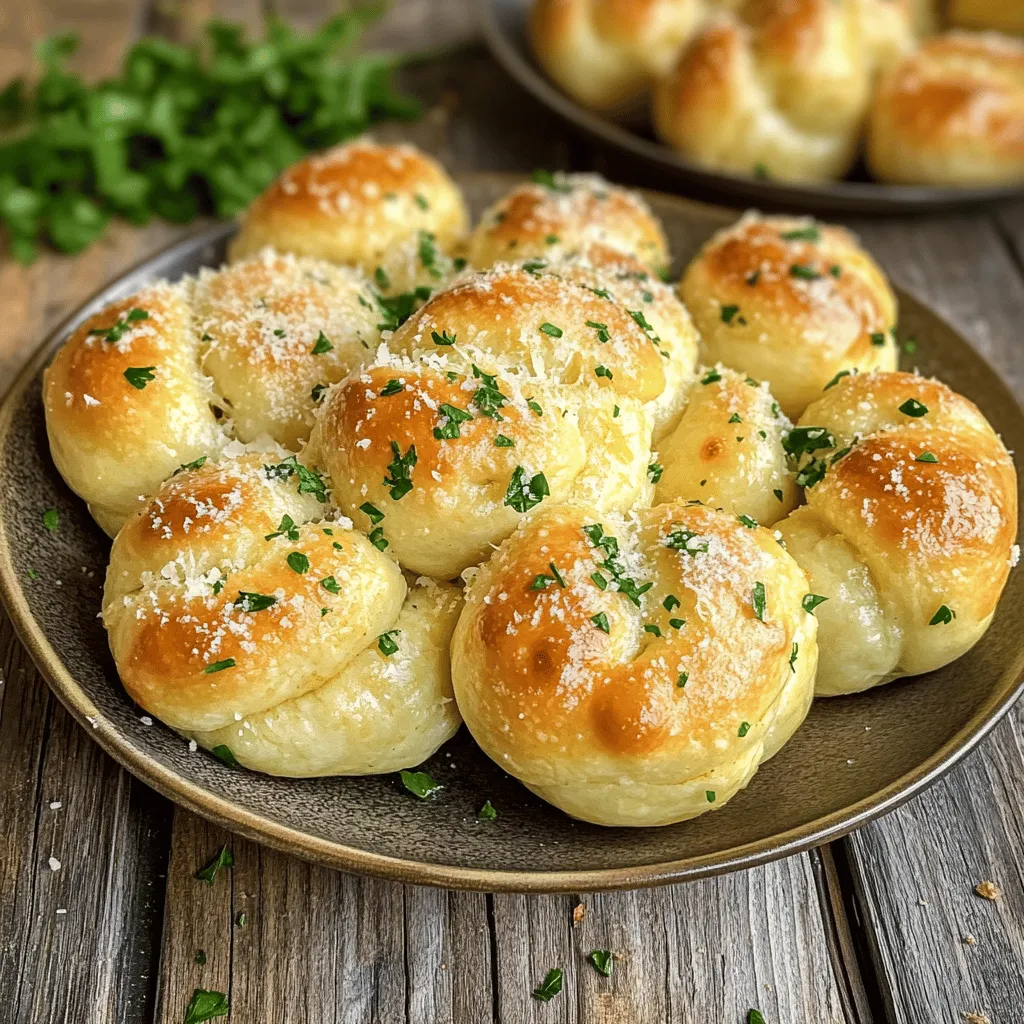
The unique combination of freshly baked dough, aromatic garlic, and rich butter creates a sensory experience that is hard to replicate. Each knot is a soft, pillowy delight, perfectly infused with the boldness of garlic and the richness of butter. As they bake, they develop a beautiful golden-brown crust, while retaining a tender interior that keeps you coming back for more. It’s no wonder that garlic knots have become a beloved staple in homes and restaurants alike.
A Brief History of Garlic Knots
The origin of garlic knots can be traced back to the Italian immigrant communities in the United States. As immigrants began to establish pizzerias in cities like New York and Chicago during the late 19th and early 20th centuries, they sought ways to make the most of their ingredients. Pizza dough, often made in large batches, would sometimes yield excess scraps. Instead of discarding these remnants, resourceful cooks began tying them into knots, giving birth to what we now know as garlic knots.
As pizzerias flourished, so did the popularity of garlic knots. They quickly transitioned from a simple byproduct to a menu favorite, often served warm with a side of marinara sauce for dipping. Today, garlic knots have evolved beyond their humble beginnings, becoming a versatile dish enjoyed in various settings—from casual family dinners to elegant gatherings. Their universal appeal lies in their comforting nature and the simple pleasure they bring to the table.
Ingredients Breakdown
Creating the perfect garlic knots requires a thoughtful selection of ingredients, each playing a crucial role in the overall flavor and texture of the final product. Let’s take a closer look at each component and its purpose.
All-Purpose Flour
Flour serves as the foundation of any bread-making endeavor, and garlic knots are no exception. All-purpose flour is ideal for this recipe as it strikes a balance between protein content and versatility. The gluten structure formed during kneading is essential for achieving the perfect chewiness in your knots. When combined with water and yeast, the flour creates a dough that can rise beautifully and hold its shape during baking.
Active Dry Yeast
Yeast is the magical ingredient that brings life to your dough. Active dry yeast ferments the sugars in the dough, producing carbon dioxide that causes the dough to rise. This fermentation process not only contributes to the volume of the garlic knots but also enhances the flavor profile, giving it a subtle complexity. Proper activation of the yeast is crucial, as it ensures a light and airy texture in the final product.
Warm Water
Water is a vital component in bread-making, as it hydrates the flour and activates the yeast. However, the temperature of the water is equally important. Warm water, typically between 100°F to 110°F, creates an optimal environment for the yeast to thrive. If the water is too hot, it can kill the yeast, while water that is too cold may not activate it effectively. Achieving the right temperature will ensure a successful rise in your dough.
Granulated Sugar
Sugar plays a dual role in this recipe. First, it acts as food for the yeast, helping it to flourish during the fermentation process. This results in a lighter, fluffier texture. Second, sugar balances the flavors, providing a hint of sweetness that complements the savory garlic and butter. It’s a small addition but one that makes a significant impact on the overall taste of your garlic knots.
Salt
Salt is a crucial ingredient in any bread recipe, and its importance cannot be overstated. In garlic knots, salt enhances the flavor, making it more pronounced and enjoyable. Additionally, salt helps to control yeast activity, preventing it from fermenting too quickly. This balance results in a well-developed dough with a pleasant taste and texture.
Olive Oil
Olive oil not only adds moisture to the dough but also infuses it with a subtle flavor that elevates the garlic knots. Its rich, fruity notes complement the garlic and herbs, creating a harmonious blend of flavors. Moreover, the fat in olive oil strengthens the dough’s structure and contributes to a tender crumb, ensuring each bite is deliciously satisfying.
Garlic and Butter
The stars of the show, garlic and butter, are what truly define garlic knots. Fresh garlic, when minced and sautéed in butter, releases its aromatic oils, creating a fragrant mixture that coats the knots beautifully. This classic combination is beloved for its rich flavor, imparting a savory element that makes garlic knots irresistible. The buttery goodness enhances the overall texture, giving each knot a delectable sheen and a melt-in-your-mouth quality.
Fresh Parsley and Italian Seasoning
Herbs play an essential role in elevating the flavor profile of garlic knots. Fresh parsley adds a bright, herbal note that balances the richness of the garlic and butter. Meanwhile, Italian seasoning—often a blend of dried herbs like oregano, basil, and thyme—introduces additional depth and complexity to the dish. Together, these herbs create a vibrant flavor that enhances each and every knot.
Crushed Red Pepper Flakes
For those who enjoy a touch of heat, crushed red pepper flakes can be added to the garlic butter mixture. While entirely optional, these flakes introduce a subtle spiciness that contrasts beautifully with the garlic and butter, appealing to those who enjoy a little kick in their food. Adjust the quantity according to your personal preference, and feel free to omit them if you prefer a milder flavor.
Grated Parmesan Cheese
The finishing touch to your garlic knots is a sprinkle of grated Parmesan cheese. This cheese adds a rich, savory flavor that deepens the overall taste experience. When melted over the warm knots, it creates a deliciously cheesy crust that is both indulgent and satisfying. The combination of garlic and Parmesan is a classic pairing that never fails to please.
Step-by-Step Guide to Making Garlic Knots
Now that we’ve broken down the ingredients and their purposes, it’s time to delve into the step-by-step guide for making these irresistible garlic knots. This section will provide detailed instructions to ensure your success in creating a batch that will impress family and friends alike.
Step 1: Prepare the Yeast Mixture
Start by activating the yeast. In a small bowl, combine warm water (between 100°F to 110°F) and granulated sugar. Sprinkle the active dry yeast over the surface of the water and allow it to sit for about 5-10 minutes. You’ll know it’s ready when it becomes frothy, indicating that the yeast is alive and ready to work its magic.
Step 2: Make the Dough
In a large mixing bowl, combine all-purpose flour and salt. Make a well in the center of the flour mixture and pour in the activated yeast mixture, along with olive oil. Using a wooden spoon or your hands, mix the ingredients until a shaggy dough forms. If the dough feels too sticky, you can add a little more flour, one tablespoon at a time, until it reaches a smooth consistency.
Step 3: Knead the Dough
Transfer the shaggy dough onto a lightly floured surface. Begin kneading the dough by pressing it with the palms of your hands, folding it over, and turning it. Continue kneading for about 8-10 minutes, or until the dough becomes smooth and elastic. Proper kneading develops the gluten structure, which is essential for achieving the desired chewiness in your garlic knots.
Step 4: Let the Dough Rise
Shape the kneaded dough into a ball and place it in a lightly greased bowl, turning it to coat the surface with oil. Cover the bowl with a clean kitchen towel or plastic wrap and let it rise in a warm, draft-free area until it doubles in size, approximately 1 to 1.5 hours. This rise allows the yeast to ferment and develop the flavors in the dough.
Step 5: Prepare the Garlic Butter
While the dough is rising, you can prepare the garlic butter mixture. In a small saucepan over low heat, melt butter and add minced garlic. Sauté the garlic until it becomes fragrant but avoid browning it, as burnt garlic can impart a bitter flavor. Once the garlic is fragrant, remove the saucepan from heat and stir in fresh parsley, Italian seasoning, and crushed red pepper flakes if desired. Set aside to cool slightly.
Step 6: Shape the Garlic Knots
Once the dough has risen, punch it down to release any air bubbles. Transfer it to a floured surface and divide the dough into equal pieces, about 12-16 depending on your preferred size. Roll each piece into a rope, approximately 8-10 inches long. Tie the rope into a knot, tucking the ends underneath to create a neat shape. Place the shaped knots on a parchment-lined baking sheet, leaving enough space between them to allow for rising.
Step 7: Second Rise
Cover the shaped knots with a kitchen towel and let them rise again for about 30 minutes. This second rise will ensure that your knots are light and airy when baked.
Step 8: Preheat the Oven
While the knots are rising, preheat your oven to 375°F (190°C). A hot oven is crucial for achieving that beautiful golden-brown crust that makes garlic knots so appealing.
Step 9: Bake the Knots
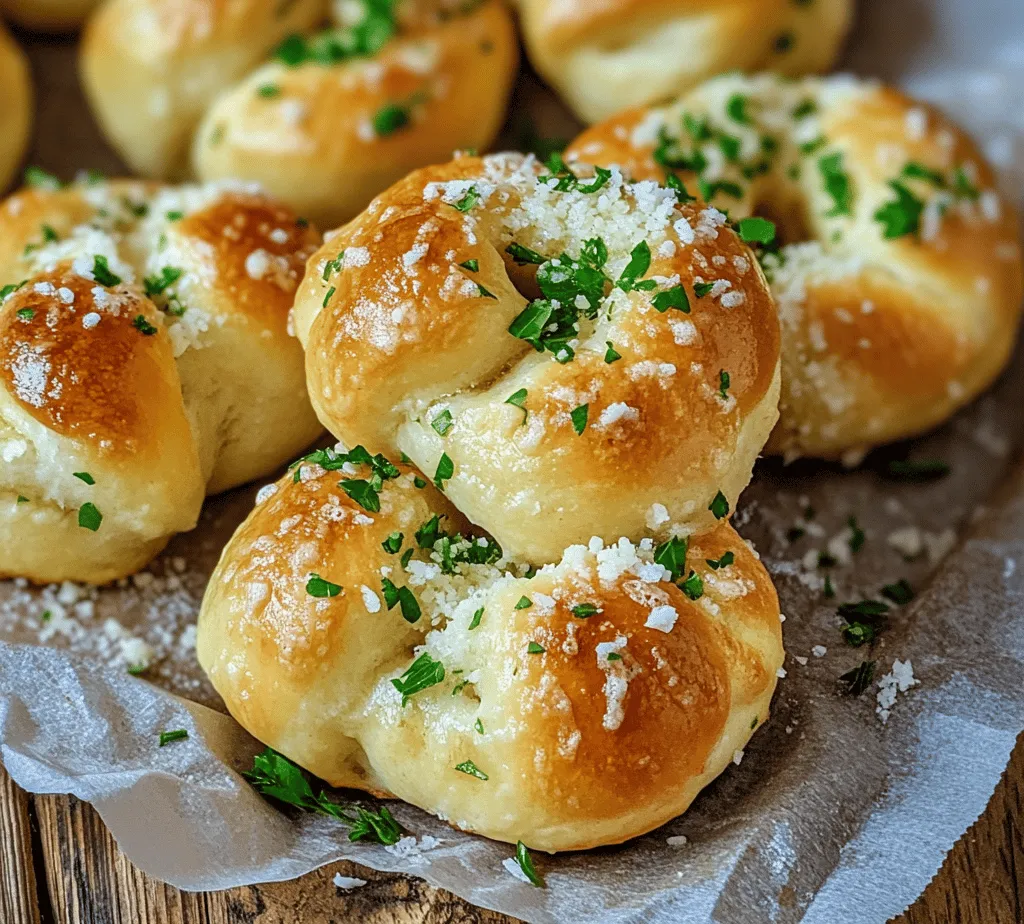
Once the knots have risen, brush them generously with the prepared garlic butter mixture, ensuring they are well-coated. Bake the knots in the preheated oven for 15-20 minutes or until they are golden brown. The aroma of garlic and butter will fill your kitchen, making it nearly impossible to resist the temptation of snacking on these delicious treats.
Step 10: Finish with Parmesan
As soon as the garlic knots come out of the oven, sprinkle them with grated Parmesan cheese while they are still hot. The cheese will melt slightly, adding a delightful richness to each knot. Allow them to cool for a few minutes before serving, but don’t let them sit for too long—these garlic knots are best enjoyed warm!
By following these steps, you’ll create a batch of irresistible homemade garlic knots that are sure to become a family favorite. Each bite will be a perfect balance of flavors and textures, making them an unforgettable addition to any meal. Stay tuned for the next part of this article, where we will explore additional tips for achieving the best results with your garlic knots and answer some common questions that arise during the baking process.
Activating the Yeast
The activation of yeast is a crucial step in the bread-making process, as it determines the rise and texture of your garlic knots. Yeast is a living organism that ferments sugars, producing carbon dioxide gas that causes the dough to expand. To activate the yeast effectively, begin by combining it with warm water (around 110°F or 43°C) and a pinch of sugar in a bowl. Allow this mixture to sit for about 5-10 minutes until it becomes frothy. This foam indicates that the yeast is alive and ready to work. If the mixture doesn’t froth, it’s best to start over with new yeast, as this could mean your yeast is inactive.
For best results, always use fresh yeast and ensure your water is not too hot, as excessive heat can kill the yeast. Additionally, using a clear bowl helps you visually confirm the fermentation process, which is both satisfying and essential for your success.
Preparing the Dough
Once your yeast is activated, it’s time to prepare the dough. In a large mixing bowl, combine flour and salt, creating a well in the center for your yeast mixture. This technique allows the yeast to mix evenly with the flour without being exposed to salt, which can inhibit its activity. Gradually pour the yeast mixture into the well, followed by any additional ingredients such as olive oil or herbs, depending on your preference.
Mix the ingredients together using a wooden spoon or your hands until they start to form a shaggy dough. At this stage, it’s important not to overmix; just ensure that the flour is incorporated and the dough is beginning to come together. Once you have a rough dough, transfer it to a lightly floured surface for kneading.
Kneading Techniques
Kneading is vital for developing gluten, which gives the dough its structure and chewiness. To knead your dough effectively, use the heel of your hand to push the dough away from you, then fold it back over itself. Rotate the dough a quarter turn and repeat this process. Knead for about 8-10 minutes until the dough becomes smooth and elastic. You can also perform a windowpane test by stretching a small piece of dough; if it forms a thin, translucent film without tearing, it’s perfectly kneaded.
If the dough is sticky, sprinkle a little flour on your work surface, but avoid adding too much, as this can make the knots dense. The goal is to have a soft, pliable dough that springs back when poked.
The First Rise
After kneading, place your dough in a greased bowl, covering it with a clean kitchen towel or plastic wrap. For optimal rising conditions, find a warm environment, such as an oven that’s turned off but slightly warmed, or a sunny countertop. The dough should rise until it has doubled in size, which typically takes about 1 to 1.5 hours. You’ll know it’s ready when you gently press your finger into the dough and the indentation remains.
Shaping the Knots
Once your dough has risen, it’s time to shape the knots. Start by punching down the dough to release the air. Then, transfer it to a floured surface and divide it into equal pieces, about 1.5 ounces each. Roll each piece into a long rope, about 6-8 inches in length. To form the knots, tie the rope into a simple knot. For a beautiful presentation, tuck the ends of the rope under the knot. Visual cues for success include a smooth surface and tight knot structure, which will hold their shape during baking.
The Second Rise
The second rise is just as important as the first. After shaping the knots, place them on a parchment-lined baking sheet, ensuring they have enough space to expand. Cover them with a towel and let them rise for about 30-45 minutes. This step allows the dough to relax and become airy, resulting in a lighter texture. You’ll notice the knots puff up slightly; they should be soft and pillowy when ready to bake.
Oven Preparation
Preheating your oven is crucial for achieving the best baking results. Set your oven to 375°F (190°C) about 20 minutes before you plan to bake the knots. A properly preheated oven ensures that the garlic knots bake evenly and rise properly in the initial moments of baking, which is key for achieving that perfect golden-brown exterior.
Preparing the Garlic Butter
While your knots are undergoing their second rise, it’s time to prepare the garlic butter that will give these knots their signature flavor. In a small saucepan, melt unsalted butter over low heat. Once melted, add minced garlic and cook gently for about 1-2 minutes until fragrant. Be careful not to burn the garlic; it should be golden but not browned. For added flavor, consider incorporating fresh herbs such as parsley or oregano into the butter. This infusion will enhance the overall taste of your garlic knots.
Optional Egg Wash
For an appealing golden color and shiny finish, you can apply an egg wash before baking. To make an egg wash, whisk together one egg with a tablespoon of water until well combined. Brush this mixture over the tops of the knots just before they go into the oven. While this step is optional, it can greatly enhance the appearance of your garlic knots, making them look more professional and inviting.
Baking the Knots
Once your knots are ready and the oven is preheated, it’s time to bake. Place the baking sheet in the oven and set your timer for 15-20 minutes. The garlic knots will rise and turn a beautiful golden brown. Keep an eye on them during the last few minutes of baking; they should look fluffy and golden. To ensure they are fully baked, you can tap the bottom of a knot; it should sound hollow.
Brushing with Garlic Butter
Immediately after removing the knots from the oven, brush them generously with the prepared garlic butter. This step not only adds flavor but also helps keep the knots moist. Be sure to coat them evenly, allowing the butter to seep into every crevice for maximum flavor absorption. For an extra touch, sprinkle some grated Parmesan cheese or fresh herbs on top after brushing them with garlic butter.
Serving Suggestions
Garlic knots are incredibly versatile and can complement many dishes. Serve them warm as an appetizer or alongside your favorite pasta dishes. They make an excellent addition to any Italian meal, especially when paired with spaghetti and meatballs or a rich lasagna. Their buttery, garlicky flavor enhances the overall dining experience.
Pairing with Dips
To elevate your garlic knots, consider serving them with a variety of dips. Classic marinara sauce is a go-to choice, offering a tangy contrast to the knots’ rich, buttery flavor. Garlic aioli can also be a delightful pairing, adding a creamy texture and a punch of garlic. For something different, try a spicy arrabbiata sauce or a herbed olive oil for dipping.
Ideal Meal Pairings
In addition to being served as a standalone appetizer, garlic knots pair beautifully with salads, soups, and grilled meats. A fresh arugula salad or a hearty minestrone soup can balance the richness of the knots, while grilled chicken or shrimp can make for a satisfying meal.
Nutritional Information
Each serving of homemade garlic knots (approximately two knots) contains around 150 calories, 6 grams of fat, 20 grams of carbohydrates, and 4 grams of protein. While they are a treat, enjoy them in moderation as part of a balanced diet, especially when paired with nutritious meals.
Conclusion
Homemade garlic knots are not just a side dish; they are a celebration of flavors and textures that can elevate any meal. By following this detailed guide, you can create a batch of these delicious knots that are sure to impress family and friends. Enjoy the process of baking and the delightful reward of warm, buttery garlic knots fresh from your oven. Whether you’re serving them at a family dinner, a festive gathering, or simply indulging on a cozy night in, these garlic knots will quickly become a beloved favorite.