Introduction
Oreo Dirt Cake is not just a dessert; it’s a delightful experience that brings out the inner child in everyone. This playful take on traditional cake combines rich, velvety chocolate flavors with a whimsical presentation that resembles dirt, making it a favorite for both kids and adults alike. Whether you’re hosting a birthday party, a family gathering, or simply treating yourself at home, Oreo Dirt Cake is the perfect dessert choice that is sure to impress.
With its incredibly simple preparation, this dessert requires minimal effort yet delivers maximum satisfaction. The layers of crushed Oreo cookies, creamy filling, and light whipped topping come together to create a visually stunning treat that is as delicious as it is fun. In this article, we will explore the essential ingredients that make up this delightful dessert and guide you through each step of the preparation process so that you can create your own Oreo Dirt Cake masterpiece.
Understanding the Ingredients
To successfully create a mouthwatering Oreo Dirt Cake, it’s crucial to understand the role of each ingredient in the recipe. Here’s a closer look at the key components:
Chocolate Sandwich Cookies
At the heart of Oreo Dirt Cake are the chocolate sandwich cookies, typically Oreos. These cookies are not only integral to the flavor profile but also provide the iconic “dirt” appearance of the cake. The rich, chocolaty taste of Oreos is complemented by their creamy filling, which enhances the overall sweetness of the dessert. When crushed to a fine crumb, these cookies form the base layer that mimics the look of dirt while adding a satisfying crunch to each bite.
Unsalted Butter and Cream Cheese
Unsalted butter and cream cheese are essential for achieving that rich and creamy texture that makes Oreo Dirt Cake so indulgent. Unsalted butter lends a smooth and velvety consistency to the cream layer, allowing the flavors to shine without the interference of added salt. Cream cheese adds a tangy depth and richness that balances the sweetness of the dessert. Together, these ingredients create a luscious filling that perfectly contrasts the crunchy cookie layer.
Powdered Sugar
Powdered sugar plays a critical role in this recipe, contributing both sweetness and thickness to the cream mixture. Unlike granulated sugar, powdered sugar dissolves easily, which helps create a smooth and creamy texture without the graininess that can occur with regular sugar. The right amount of powdered sugar is key to achieving the perfect balance of sweetness, ensuring that the Oreo Dirt Cake is enjoyable without being overwhelmingly sugary.
Whipped Cream or Whipped Topping
To add a light and airy element to the dessert, whipped cream or whipped topping is incorporated into the cream mixture. This ingredient not only enhances the overall texture but also adds volume, creating a beautifully layered effect. The whipped cream softens the richness of the cream cheese and butter, making each bite of the Oreo Dirt Cake a delightful experience. For those looking for a lighter option, using a whipped topping can also reduce calories without sacrificing flavor.
Instant Chocolate Pudding Mix
Instant chocolate pudding mix serves a dual purpose in this recipe. Firstly, it acts as a thickening agent that helps bind the cream ingredients together, ensuring a stable structure for the cake. Secondly, it enhances the chocolate flavor, making the dessert even more decadent and enjoyable. The pudding mix adds a silky richness that complements the cookie crumbs, creating layers of deliciousness throughout the cake.
Decorative Elements
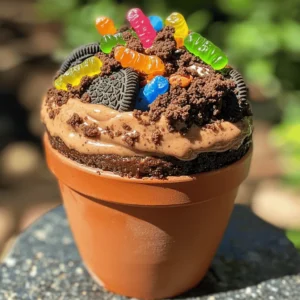
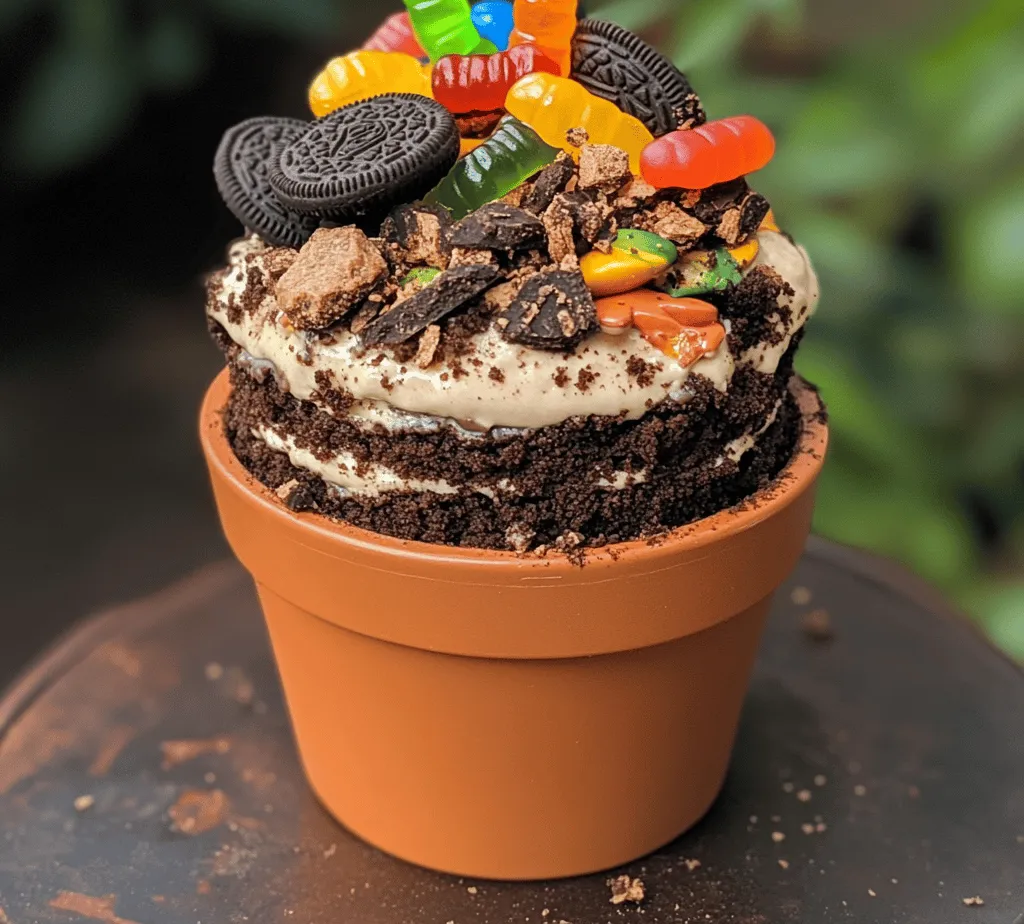
While the components mentioned above are essential for the cake itself, the fun doesn’t stop there. Decorative elements like gummy worms and flower pots are commonly used to enhance the presentation of Oreo Dirt Cake. Gummy worms add a whimsical touch, making the dessert appealing to children and adults alike, while flower pots can create a charming display that elevates your dessert to a whole new level. These decorative aspects make Oreo Dirt Cake not just a treat for the taste buds but also a feast for the eyes.
Step-by-Step Instructions for Making Oreo Dirt Cake
Now that we’ve explored the key ingredients that make up an Oreo Dirt Cake, let’s dive into the step-by-step instructions to help you create this delightful dessert with ease.
Crushing the Cookies
The first step in making Oreo Dirt Cake is to crush the chocolate sandwich cookies. For this, you will need a package of Oreos and either a food processor or a resealable plastic bag and a rolling pin.
Using a Food Processor:
– Place the Oreos in the food processor and pulse until they reach a fine crumb consistency. Be sure to stop periodically to scrape down the sides of the bowl to ensure even crushing.
Using a Resealable Plastic Bag:
– Alternatively, place the Oreos in a resealable plastic bag, seal it tightly, and use a rolling pin to crush them into fine crumbs. This method may take a bit more effort, but it can be quite satisfying!
Aim for a texture that resembles sand; it should be fine enough to pack together slightly, but not so fine that it turns into powder. Set the crushed cookies aside for the layering process.
Preparing the Cream Mixture
The next step is to prepare the creamy filling that will bring the Oreo Dirt Cake to life. This involves mixing together the unsalted butter, cream cheese, and powdered sugar.
1. Soften the Butter and Cream Cheese:
– Start by ensuring that your unsalted butter and cream cheese are at room temperature. This will make them easier to blend together smoothly.
2. Mix the Ingredients:
– In a large mixing bowl, combine the softened butter and cream cheese. Using an electric mixer, beat the two together on medium speed until the mixture is creamy and smooth, typically about 2-3 minutes.
3. Incorporate the Powdered Sugar:
– Gradually add the powdered sugar to the butter and cream cheese mixture. Continue to beat on low speed until the sugar is fully incorporated, and the mixture is smooth and fluffy.
4. Add the Whipped Cream:
– Once the cream mixture is well combined, gently fold in the whipped cream or whipped topping using a spatula. This folding technique will help maintain the lightness of the whipped cream, ensuring that your filling remains fluffy and airy.
5. Mix in the Instant Chocolate Pudding:
– Finally, add the instant chocolate pudding mix to the cream mixture. Beat on low speed until fully combined. The pudding mix will thicken the mixture slightly and enhance the chocolate flavor, giving your dirt cake its signature taste.
Now that your cream mixture is ready, you’re well on your way to assembling the Oreo Dirt Cake. The next steps will involve layering the crushed cookies and the cream mixture to create the delicious and playful dessert that everyone will love.
Stay tuned for the next part of this article, where we will guide you through the layering process and the final touches that will make your Oreo Dirt Cake a show-stopping dessert!
Preparing the Pudding
To start making your Oreo Dirt Cake, you need to prepare the pudding, which is a crucial element of this dessert. Begin by measuring out your instant chocolate pudding mix and the required milk. Using a whisk, combine the pudding mix and milk in a large mixing bowl. Whisk vigorously for about two minutes until the mixture begins to thicken. This step is essential, as it ensures that the pudding reaches the right consistency, which contributes to the overall texture of the cake.
Once the pudding has thickened, let it sit for an additional five minutes. This resting period allows the pudding to reach its maximum thickness and ensures a creamier texture when incorporated into the rest of the cake. As you wait, take this opportunity to gather your other ingredients, ensuring everything is at hand for the next steps.
Combining Mixtures
Next, it’s time to bring together your mixtures for the ultimate Oreo Dirt Cake experience. In a separate mixing bowl, combine the softened cream cheese and whipped topping. Using a spatula or a hand mixer, blend these two ingredients until they are well combined and smooth. Be careful not to overmix, as this can introduce excess air, leading to a less creamy texture in the final product.
Now, it’s time to incorporate the prepared pudding into the cream cheese and whipped topping mixture. Gently fold the pudding into the mixture using a spatula. The folding technique is essential here; it allows the ingredients to combine without deflating the whipped topping, preserving that light and airy texture that makes the cake so delightful. Continue folding until you see no streaks of pudding remaining, and the mixture is homogenous and creamy.
Assembling the Cake
With your mixtures ready, the next step is assembling your Oreo Dirt Cake. Choose a large glass trifle bowl or individual cups for serving, depending on your presentation preference. Begin by layering the bottom of the bowl or cups with a generous portion of the cookie crumbs. This initial layer not only provides a sturdy base but also sets the stage for the visual appeal of your cake.
Next, spoon a layer of the creamy pudding mixture over the cookie crumbs, spreading it evenly to cover the base. Repeat this process, alternating layers of cookie crumbs and pudding mixture, until you reach the top of the bowl or cups. The final layer should be the pudding mixture, which you can smooth out for a clean finish. The layers should be visible through the glass, creating a stunning visual effect that showcases the delightful contrast between the chocolate pudding and the Oreo crumbs.
Chilling and Setting
Now that your Oreo Dirt Cake is assembled, it’s time for one of the most important steps—chilling. Cover the assembled cake with plastic wrap or a lid and place it in the refrigerator for at least four hours, though overnight chilling is preferable. This chilling period allows the flavors to meld beautifully, enhances the pudding’s creaminess, and helps the layers set. The longer you let it chill, the better the overall flavor and texture will be.
Decorating
Once your Oreo Dirt Cake has set, it’s time to get creative with the decorations. The classic look involves sprinkling additional crushed Oreo cookies on top, creating a dirt-like effect that ties in beautifully with the theme. To add a whimsical touch, place gummy worms on top, allowing them to crawl out of the cake for a playful appearance.
For an extra pop of color, consider incorporating edible flowers or fresh mint for a more sophisticated look. You could even use candy rocks or chocolate stones to enhance the earthy theme. The key is to let your creativity shine through; after all, this dessert is as much about the presentation as it is about the taste.
Tips for Perfecting Your Oreo Dirt Cake
While crafting your Oreo Dirt Cake, consider the following insights to elevate your dessert-making game:
– Presentation Variations: Instead of using a traditional bowl, think outside the box. You can use mason jars, clear plastic cups, or even flower pots lined with parchment paper for a more rustic feel. Each container offers a unique way to serve and display your cake.
– Flavor Variations: Feel free to switch things up by experimenting with different pudding flavors. Vanilla or butterscotch pudding can provide an exciting twist while still complementing the Oreo flavor. You might also consider adding layers of fruit, like sliced strawberries or bananas, for a fresh contrast.
– Common Mistakes to Avoid: Be mindful not to overmix the cream cheese and whipped topping mixture, as this can lead to a less desirable texture. Additionally, ensure that the pudding is adequately thickened before folding it into the other ingredients. A well-prepared pudding is crucial for maintaining the integrity of the layers.
Serving Suggestions and Pairings
When it comes to serving your Oreo Dirt Cake, the occasions are endless. This dessert is perfect for birthday parties, casual family gatherings, picnics, or even as a fun treat for a movie night. Its playful appearance and rich flavor make it a crowd-pleaser for both kids and adults alike.
To enhance the experience, consider pairing your Oreo Dirt Cake with a tall glass of cold milk, which complements the chocolate flavor perfectly. For coffee lovers, a cup of freshly brewed coffee or a chilled iced coffee can provide a delightful contrast to the sweetness of the cake. If you’re looking for a refreshing option, iced tea or lemonade can also serve as a great accompaniment, bringing a balance to the rich dessert.
Conclusion
Creating and sharing Oreo Dirt Cake is an incredibly joyful experience that brings delight to any occasion. This fun and easy dessert not only offers a delicious combination of flavors and textures but also allows for creativity in both preparation and presentation. Whether you choose to follow the classic recipe or put your spin on it, the satisfaction derived from crafting such a whimsical treat is unparalleled.
As you embark on your Oreo Dirt Cake journey, remember that cooking is not just about the final product—it’s also about enjoying the process and embracing your creativity. So gather your ingredients, invite friends or family to join in, and celebrate the joy of making this delightful dessert together.