

Introduction
Few things can evoke nostalgia quite like the warm aroma of freshly baked chocolate chip cookies wafting through the kitchen. This iconic treat has been a beloved staple in many households, transcending generations and bringing comfort to countless people. The allure of chocolate chip cookies lies not only in their rich, sweet flavor but also in their texture—the perfect harmony between a satisfying crunch on the outside and a chewy, gooey center.
In this article, we will explore the essential ingredients that make up these mouthwatering cookies, guide you through a step-by-step preparation process, and share tips to ensure your cookies come out perfectly every time. Whether you’re a seasoned baker or just starting out, this recipe will help you create a batch of crunchy-chewy chocolate chip cookies that will delight your family and friends.
The Allure of Chocolate Chip Cookies
A History of Chocolate Chip Cookies
The chocolate chip cookie has a storied history that dates back to the 1930s when Ruth Wakefield, a dietitian and proprietor of the Toll House Inn in Massachusetts, invented the treat. Originally intended to be a variation of a butter drop cookie, Wakefield’s recipe included chunks of semi-sweet chocolate, which would melt slightly during baking, creating the gooey centers we know and love today. The cookie quickly gained popularity, and in 1939, Nestlé partnered with Wakefield to publish the original recipe on their chocolate packages, leading to a nationwide craze. This partnership ultimately resulted in the creation of the Nestlé Toll House brand, forever linking chocolate chip cookies to American culture.
Why Chocolate Chip Cookies Are a Classic Favorite
Chocolate chip cookies are not just a dessert; they are a symbol of home and warmth. The simple combination of butter, sugar, flour, and chocolate creates a comforting treat that resonates with many. Throughout the years, chocolate chip cookies have become synonymous with family gatherings, holiday celebrations, and even everyday moments of indulgence. They are often the first recipe many people learn to bake, making them a rite of passage for amateur bakers.
The emotional connection tied to baking and sharing cookies is profound. The act of creating these cookies often brings families and friends together, whether it’s a mother and daughter bonding in the kitchen or a group of friends enjoying a baking party. Sharing cookies with loved ones can evoke memories of childhood and create new traditions, making these treats not just delicious, but meaningful as well.
Understanding the Ingredients
To bake the perfect crunchy-chewy chocolate chip cookies, it’s essential to understand the role each ingredient plays. This knowledge will help you make informed choices and adjustments to achieve your desired cookie texture and flavor.
All-Purpose Flour: Role in Structure
All-purpose flour is the backbone of any cookie recipe. It provides the necessary structure and stability needed for the cookies to hold their shape during baking. The protein content in all-purpose flour is moderate, which helps create a balance between tenderness and chewiness. For crunchier cookies, consider using a slightly higher proportion of flour or even substituting a portion with bread flour, which has a higher protein content.
Baking Soda: Importance in Leavening
Baking soda is a vital ingredient that acts as a leavening agent, helping the cookies rise and become light. When combined with an acidic ingredient (like brown sugar), baking soda produces carbon dioxide bubbles, which create a lift in the cookie dough. This reaction contributes to the chewy texture while also ensuring that the cookies spread out properly during baking.
Salt: Enhancing Flavor
While it may seem like a small amount, salt is crucial for enhancing the overall flavor of the cookies. It balances the sweetness of the sugars and brings out the rich taste of the chocolate. A pinch of salt can elevate the flavor profile and make each bite more satisfying.
Unsalted Butter: Creaminess and Flavor
Unsalted butter is the preferred fat for baking cookies. It adds a rich, creamy flavor while also contributing to the cookies’ texture. The butter should be softened to room temperature before use to ensure it incorporates smoothly with the sugars, resulting in a light and fluffy dough. Using unsalted butter allows you to control the overall saltiness of the cookies.
Brown Sugar vs. Granulated Sugar: Texture and Sweetness
A mix of brown sugar and granulated sugar creates the perfect balance of sweetness and texture in chocolate chip cookies. Brown sugar, which contains molasses, adds moisture and chewiness, while granulated sugar contributes to a crispier texture. The combination of the two sugars results in a cookie that has a delightful contrast between crunchy edges and a chewy center.
Vanilla Extract: Flavor Enhancer
Vanilla extract is a key ingredient that enhances the flavor of chocolate chip cookies. It adds a warm, aromatic note that complements the sweetness of the sugars and the richness of the butter. Using pure vanilla extract is recommended for the best flavor, although imitation vanilla can be used in a pinch.
Eggs: Binding and Moisture
Eggs are essential for binding the ingredients together and adding moisture to the cookie dough. They also contribute to the cookies’ structure and richness. For the best results, use large eggs at room temperature, as they will incorporate more easily into the dough.
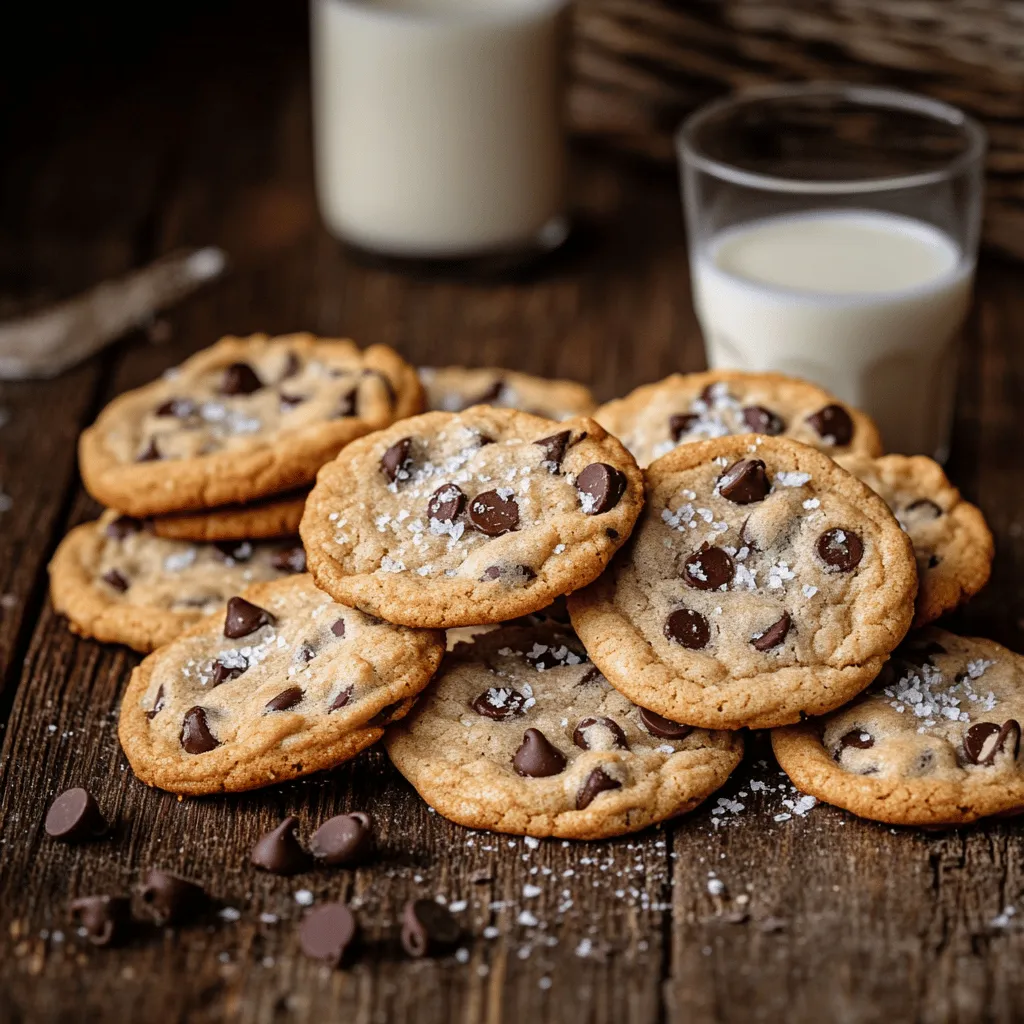
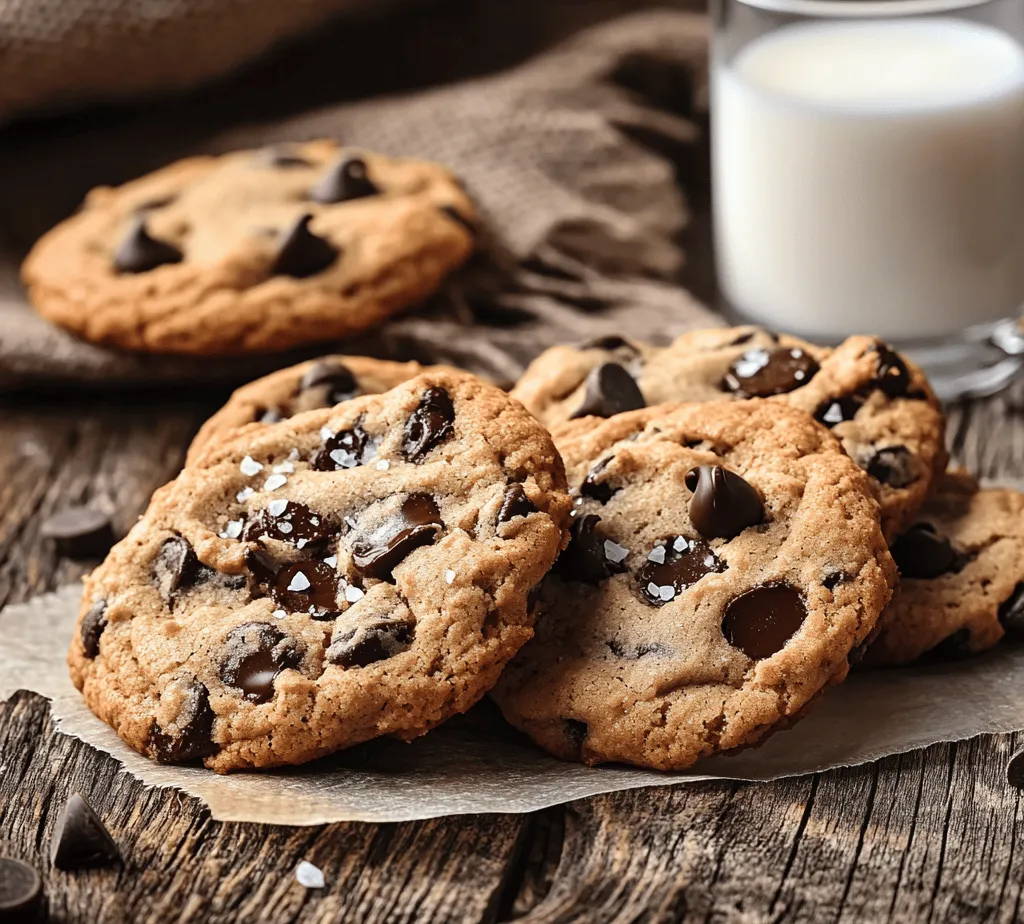
Semi-Sweet Chocolate Chips: The Star Ingredient
Of course, the star of any chocolate chip cookie recipe is the chocolate itself. Semi-sweet chocolate chips offer the perfect blend of sweetness and rich chocolate flavor. They melt beautifully, creating puddles of chocolate in the cookies that are irresistible. For a fun twist, feel free to mix in different types of chocolate, such as dark chocolate or milk chocolate, or even add some chopped chocolate bars for added texture.
Optional Nuts: Adding Texture and Flavor Complexity
While optional, nuts can add a delightful crunch and flavor complexity to chocolate chip cookies. Chopped walnuts or pecans are popular choices that pair wonderfully with chocolate. If you choose to include nuts, be sure to chop them into smaller pieces to avoid overpowering the cookie’s texture.
Preparation Steps for Crunchy-Chewy Chocolate Chip Cookies
Now that you understand the essential ingredients, it’s time to dive into the preparation steps for your crunchy-chewy chocolate chip cookies. Follow these detailed instructions to achieve cookie perfection.
Step 1: Gather Your Ingredients
Before you start baking, ensure you have all the necessary ingredients on hand. For the perfect batch of crunchy-chewy chocolate chip cookies, you will need:
– 2 ¼ cups of all-purpose flour
– 1 teaspoon of baking soda
– ½ teaspoon of salt
– 1 cup (2 sticks) of unsalted butter, softened to room temperature
– ¾ cup of granulated sugar
– ¾ cup of packed brown sugar
– 1 teaspoon of vanilla extract
– 2 large eggs
– 2 cups of semi-sweet chocolate chips
– Optional: 1 cup of chopped nuts (walnuts or pecans)
Step 2: Preheat Your Oven
Preheat your oven to 350°F (175°C). Preheating the oven ensures that your cookies bake evenly and achieve the right texture.
Step 3: Prepare Your Baking Sheets
Line your baking sheets with parchment paper or silicone baking mats. This will prevent the cookies from sticking and help them bake evenly.
Step 4: Mix the Dry Ingredients
In a medium-sized mixing bowl, whisk together the all-purpose flour, baking soda, and salt. This step ensures that the leavening agent is evenly distributed throughout the flour, promoting an even rise during baking.
Step 5: Cream the Butter and Sugars
In a large mixing bowl, use an electric mixer to cream together the softened unsalted butter, granulated sugar, and brown sugar until the mixture is light and fluffy. This process typically takes about 2-3 minutes. The incorporation of air into the mixture is crucial for achieving a light and tender cookie texture.
Step 6: Add the Eggs and Vanilla
Once the butter and sugars are well combined, add the eggs one at a time, mixing well after each addition. Then, add the vanilla extract and mix until everything is fully incorporated. The mixture should be smooth and creamy.
Step 7: Gradually Incorporate the Dry Ingredients
With your mixer on low speed, gradually add the dry ingredients to the wet mixture. Mix just until combined—be careful not to overmix, as this can lead to tough cookies. The dough should be thick and slightly sticky.
Step 8: Fold in the Chocolate Chips (and Nuts)
Using a spatula or wooden spoon, gently fold in the semi-sweet chocolate chips and any optional nuts. Make sure they are evenly distributed throughout the dough, so every cookie has that delightful chocolatey goodness.
Step 9: Scoop the Dough onto Baking Sheets
Using a cookie scoop or a tablespoon, drop rounded balls of dough onto the prepared baking sheets, leaving about 2 inches of space between each cookie to allow for spreading during baking.
Step 10: Bake the Cookies
Place the baking sheets in the preheated oven and bake the cookies for 10-12 minutes, or until the edges are golden brown and the centers are set but still soft. Keep a close eye on them, as baking times can vary depending on your oven and the size of your cookies.
As you prepare to enjoy these cookies, you will find that the combination of a crunchy exterior and a chewy interior creates a delightful treat that is hard to resist. Stay tuned for the final tips that will elevate your cookie-baking experience and ensure your crunchy-chewy chocolate chip cookies are a hit every time.
Detailed Instructions for Baking Crunchy-Chewy Chocolate Chip Cookies
Preheating the Oven and Preparing Baking Sheets
Before diving into the mixing process, it’s essential to prepare your kitchen for baking. Begin by preheating your oven to 350°F (175°C). This step is crucial as it ensures that your cookies bake evenly and achieve that perfect crunchy-chewy texture. While the oven is heating, prepare your baking sheets. Line them with parchment paper or silicone baking mats. These surfaces not only help prevent sticking but also promote even cooking, resulting in cookies that are beautifully golden on the outside while remaining soft and chewy on the inside.
The Mixing Process: Creaming Butter and Sugars for the Right Texture
Once your oven is preheated and your baking sheets are ready, it’s time to mix the ingredients. Start by grabbing a large mixing bowl and your electric mixer or a sturdy wooden spoon. Begin with room temperature butter—softened but not melted—as this is key to achieving the right consistency. Add both brown sugar and granulated sugar to the bowl. The combination of these sugars creates a wonderful depth of flavor and helps contribute to that coveted chewy texture.
Cream the butter and sugars together for about 2-3 minutes until the mixture is light and fluffy. This step is critical! Proper creaming incorporates air into the batter, which will help your cookies rise and develop a delightful texture. Be sure to scrape down the sides of the bowl with a spatula to ensure everything is well combined.
Incorporating Eggs and Vanilla Correctly
Next, add the eggs—one at a time—to the creamed mixture, mixing well after each addition. The eggs not only bind the ingredients but also contribute to the overall moisture of the cookies. After incorporating the eggs, add a teaspoon of pure vanilla extract. This addition enhances the flavor profile, making your cookies taste like a classic treat from a bakery. Mix just until combined; overmixing at this stage can lead to a tougher cookie.
Mixing Dry and Wet Ingredients: What to Avoid for Perfect Dough
In a separate bowl, whisk together your dry ingredients: all-purpose flour, baking soda, and a pinch of salt. It’s important to measure your flour accurately; too much can lead to dry cookies. Gradually add the dry mixture to the wet ingredients in two or three increments, mixing on low speed or gently folding with a spatula after each addition. It’s essential to mix just until combined—overmixing can lead to a denser cookie. The goal here is to have a soft dough that holds together but doesn’t form a tight ball.
Tips for Folding in Chocolate Chips and Nuts Without Overmixing
Now comes the exciting part—folding in the chocolate chips and any nuts you may want to include. Use a spatula or a wooden spoon to gently mix these ingredients into the dough. Aim for an even distribution of chocolate and nuts without overworking the dough. The key is to fold gently just until the chocolate and nuts are incorporated, as this will help maintain the airy quality of your dough.
Baking Perfect Cookies
Guidance on Portioning Dough for Consistent Cookie Sizes
After your dough is ready, it’s time to portion it out. Using a cookie scoop or a tablespoon, scoop out equal amounts of dough to ensure consistent cookie sizes. This not only helps with even baking but also makes for a pleasing presentation. Typically, a tablespoon or a medium cookie scoop works perfectly for standard-sized cookies.
The Significance of Spacing Cookies on the Baking Sheet
When placing the cookie dough onto the prepared baking sheets, leave enough space between each scoop. A spacing of about 2 inches is recommended since the cookies will spread as they bake. If the cookies are too close together, they can merge into one another, resulting in misshapen cookies.
What to Look for When Determining Baking Time
Bake your cookies in the preheated oven for about 10-12 minutes or until the edges are golden brown while the centers remain slightly soft. This is the sweet spot that ensures a chewy interior while still providing that crunchy edge. Keep a close eye on them, as every oven can vary slightly.
Cooling Cookies: Why It Matters for Texture and Flavor Development
Once baked, remove the cookies from the oven and allow them to cool on the baking sheets for about 5 minutes. This resting period is important as it allows the cookies to set and firm up, making them easier to transfer to a wire rack. After 5 minutes, carefully move the cookies to a wire rack to cool completely. This step is essential for achieving the perfect texture and allowing the flavors to develop fully.
Flavor Variations and Customizations
Suggestions for Alternative Chocolate Types
While semi-sweet chocolate chips are the classic choice, don’t hesitate to experiment with different types of chocolate. Dark chocolate chips can add a rich, intense flavor, while milk chocolate offers a sweeter taste. White chocolate adds a creamy contrast, and you might even consider mixing these varieties for a delightful twist.
Ideas for Adding Spices or Extracts for Unique Flavors
For those looking to elevate their cookies further, consider adding spices or extracts. A dash of cinnamon or nutmeg can bring warmth and depth, while almond extract can offer a unique flavor profile that pairs beautifully with chocolate. Feel free to adjust according to your taste preferences.
Options for Varying Nuts or Including Dried Fruits
Nuts can also be varied based on your preferences—walnuts, pecans, or macadamia nuts can add a lovely crunch. Additionally, incorporating dried fruits like cranberries or cherries can provide a sweet-tart contrast that surprises the palate.
Storage and Serving Suggestions
Best Practices for Storing Cookies to Maintain Freshness
To keep your cookies fresh, store them in an airtight container at room temperature. They should stay soft and chewy for about a week, though they rarely last that long! If you want to keep them for longer, consider freezing them. Simply place the cooled cookies in a single layer on a baking sheet, freeze until solid, and then transfer them to a freezer-safe bag or container. They can last up to three months in the freezer.
Creative Serving Ideas for Cookies
When it comes to serving your delicious cookies, the options are endless. Pair them with a tall glass of cold milk for a classic treat, or serve them warm with a scoop of vanilla ice cream for an indulgent dessert. For coffee lovers, these cookies make an excellent pairing with a hot cup of coffee or espresso, enhancing the rich flavors of both.
How to Present Cookies for Gifting or Special Occasions
If you’re looking to gift your cookies, consider packaging them creatively. Place them in a decorative tin or a clear cellophane bag tied with a ribbon for a charming presentation. Homemade cookies also make great additions to gift baskets or can be arranged on a platter for special occasions like birthdays or holidays.
Conclusion
Baking chocolate chip cookies is not just a culinary task; it’s a delightful experience filled with the joy of creating something delicious to share. The process of mixing, baking, and finally enjoying the fruits of your labor is immensely rewarding. As you perfect this classic recipe, don’t hesitate to experiment with variations and personal touches to make it truly your own.
These timeless cookies are perfect for any occasion, whether it’s a cozy night in, a festive gathering, or simply a treat for yourself. Each batch is an opportunity to create cherished memories, so gather your ingredients, preheat that oven, and get ready to indulge in the most satisfying chocolate chip cookies you’ve ever tasted. Happy baking!
